SSH remote IoT Raspberry Pi is a powerful tool that allows users to manage their devices remotely, making it easier to control and interact with IoT applications. This technology is becoming increasingly important in the modern world, where remote access and automation are critical for efficient operations.
As IoT continues to expand, the ability to remotely configure, monitor, and troubleshoot devices becomes essential. Raspberry Pi, with its versatility and affordability, serves as an ideal platform for implementing IoT solutions. Combined with SSH, it provides secure and reliable access to your devices, even from distant locations.
This article explores the concept of SSH remote IoT Raspberry Pi, offering practical examples and step-by-step instructions. Whether you're a beginner or an experienced developer, this guide will help you understand how to leverage SSH for IoT applications effectively.
Read also:Understanding And Utilizing The Arc Length Calculator A Comprehensive Guide
Table of Contents
- Introduction to SSH
- Raspberry Pi Overview
- Why Use SSH for IoT?
- Setting Up SSH on Raspberry Pi
- Connecting to Raspberry Pi via SSH
- Securing Your SSH Connection
- IoT SSH Examples
- Troubleshooting SSH Issues
- Best Practices for SSH Remote IoT
- Conclusion
Introduction to SSH
SSH, or Secure Shell, is a cryptographic protocol designed to provide secure communication over an unsecured network. It ensures that data exchanged between two systems remains encrypted and protected from unauthorized access. In the context of IoT, SSH plays a vital role in enabling remote management of devices.
By using SSH, users can execute commands, transfer files, and monitor device performance without needing physical access to the hardware. This capability is especially valuable for IoT deployments where devices are often located in remote or inaccessible areas.
SSH remote IoT Raspberry Pi applications are becoming more common as organizations seek ways to enhance operational efficiency and reduce costs associated with on-site maintenance.
Raspberry Pi Overview
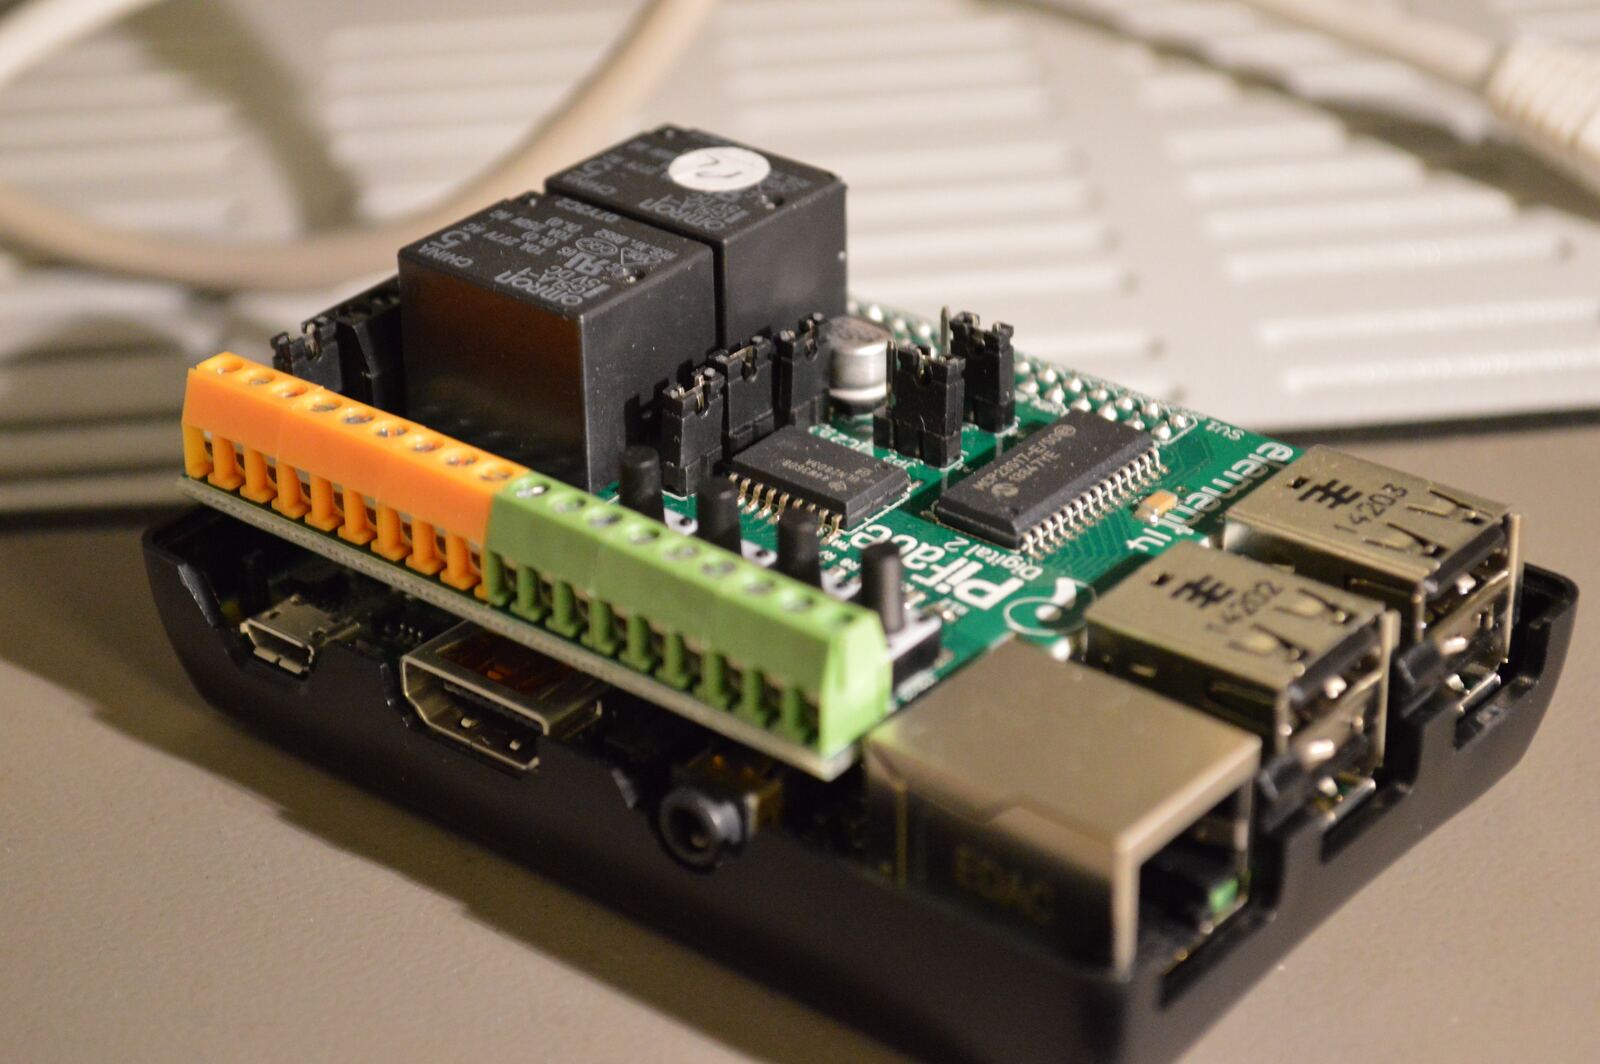
Raspberry Pi is a compact, affordable single-board computer that has gained immense popularity among hobbyists, educators, and professionals alike. Its versatility makes it an excellent choice for various projects, including IoT implementations.
Equipped with a range of interfaces such as GPIO pins, USB ports, and Ethernet, Raspberry Pi can be easily integrated into IoT systems. Additionally, its compatibility with multiple operating systems and programming languages ensures flexibility in development.
For SSH remote IoT Raspberry Pi setups, the device's small size and low power consumption make it ideal for deploying in environments where space and energy resources are limited.
Read also:Flixtor The Ultimate Guide To Understanding Accessing And Using This Popular Streaming Platform
Why Use SSH for IoT?
Using SSH for IoT offers several advantages:
- Security: SSH encrypts all data transmitted between the client and server, reducing the risk of interception and unauthorized access.
- Remote Access: With SSH, administrators can manage IoT devices from anywhere in the world, provided they have internet connectivity.
- Efficiency: SSH simplifies routine tasks such as software updates, configuration changes, and troubleshooting, saving time and effort.
- Automation: SSH can be integrated into scripts and automation tools, enabling seamless execution of repetitive tasks.
These benefits make SSH a preferred choice for managing IoT devices in both small-scale and enterprise-level deployments.
Setting Up SSH on Raspberry Pi
Enabling SSH
To enable SSH on your Raspberry Pi, follow these steps:
- Boot your Raspberry Pi and log in to the operating system.
- Open the terminal and type the following command:
sudo raspi-config - Navigate to "Interfacing Options" and select "SSH."
- Choose "Enable" and confirm your selection.
Once SSH is enabled, your Raspberry Pi will be accessible via SSH clients.
Configuring SSH
After enabling SSH, you may want to customize its settings to suit your needs. To do this:
- Open the SSH configuration file using a text editor:
sudo nano /etc/ssh/sshd_config - Modify the desired parameters, such as the port number or authentication methods.
- Save the changes and restart the SSH service:
sudo systemctl restart ssh
Proper configuration ensures that your SSH setup is both secure and functional.
Connecting to Raspberry Pi via SSH
Connecting to your Raspberry Pi via SSH is straightforward. On your client machine, open a terminal or SSH client and enter the following command:
ssh pi@
Replace
Securing Your SSH Connection
While SSH provides a secure communication channel, additional measures can enhance its protection:
- Use Strong Passwords: Ensure that all user accounts have complex passwords to prevent brute-force attacks.
- Implement Key-Based Authentication: Replace password-based authentication with SSH keys for added security.
- Disable Root Login: Restrict direct access to the root account to minimize potential damage from unauthorized access.
- Change Default Port: Modify the default SSH port (22) to a custom value to deter automated scanning attempts.
Implementing these strategies will significantly improve the security of your SSH remote IoT Raspberry Pi setup.
IoT SSH Examples
Here are a few practical examples of how SSH can be used in IoT applications:
Example 1: Sensor Data Collection
Suppose you have a Raspberry Pi connected to various sensors monitoring environmental conditions. Using SSH, you can remotely retrieve sensor data by executing scripts on the device:
ssh pi@
Example 2: Remote Configuration
When deploying IoT devices in the field, it's often necessary to update their configurations. SSH allows you to edit configuration files directly from a remote location:
ssh pi@
Example 3: File Transfer
Using SCP (Secure Copy Protocol), which is part of the SSH suite, you can transfer files between your local machine and the Raspberry Pi:
scp /path/to/local/file pi@
These examples demonstrate the versatility and utility of SSH in IoT scenarios.
Troubleshooting SSH Issues
Occasionally, you may encounter problems when trying to connect to your Raspberry Pi via SSH. Here are some common issues and their solutions:
- Connection Refused: Ensure that SSH is enabled on the Raspberry Pi and that the correct IP address is being used.
- Authentication Failure: Verify that the username and password are correct. If using key-based authentication, confirm that the keys are properly configured.
- Timeout Errors: Check your network connection and ensure that there are no firewalls blocking the SSH port.
Addressing these issues promptly will help maintain uninterrupted access to your IoT devices.
Best Practices for SSH Remote IoT
To maximize the effectiveness and security of your SSH remote IoT Raspberry Pi setup, consider the following best practices:
- Regularly update your Raspberry Pi's operating system and software to patch vulnerabilities.
- Monitor SSH logs for suspicious activity and investigate any unauthorized access attempts.
- Limit the number of users with SSH access to your devices and assign appropriate permissions.
- Document your SSH configurations and procedures to facilitate troubleshooting and maintenance.
Adhering to these guidelines will ensure that your IoT infrastructure remains robust and secure.
Conclusion
SSH remote IoT Raspberry Pi applications offer a powerful and flexible solution for managing IoT devices. By enabling secure, remote access to your Raspberry Pi, SSH simplifies tasks such as monitoring, troubleshooting, and configuration updates. This article has explored the fundamentals of SSH, provided practical examples, and outlined best practices for ensuring a secure and efficient setup.
We encourage readers to experiment with SSH in their IoT projects and share their experiences. For more information on Raspberry Pi and IoT, explore our other articles on the website. Don't forget to leave a comment or suggestion below!